Thursday, February 28, 2013

Hello kitty tea party

Sofia and I were invited to the cutest little Hello Kitty inspired tea party birthday party ever so I have to share with all of you. (All of who? There's only one person subscribed right now! Thanks, amber...). The invitations told us to wear our "Hello Kitty best" which wasn't too hard to do. I found Sofia's outfit right away at Old Navy and the most perfect accessory for me on Amazon. So of course I had to find an outfit that would compliment my accessory nicely and I did just that on Etsy. I had a t-shirt airbrushed for me so Hello Kitty and I could match and it was such a great deal, I got one for Sofia too. (Check out Streaks and Blurs - I got my shirts in record time.) And of course I made the boys some bow ties so they could be festive too. Read about how to make your own here.

The party was everything a girly girl could ask for. There was pink, there were feathers, and crafts, and pink lemonade, and cookies, and more pink. I surprised my friend by bringing some (not made by me) Hello Kitty cake pops for everyone. And of course there were Hello Kitty presents galore. Our contribution was a pair of Hello Kitty beanies I crocheted.

Each guest was presented with a white or pink Hello Kitty fascinator, a pink and black feathery boa and elbow length pink gloves to wear to tea. They were served finger sandwiches and pasta salad which everyone was allowed to eat with their gloves on and sipped pink lemonade from pink and white  straws out of mason jars with a daisy cutout lid.

To be honest, I was envious of the detail in the preparation for this event. This was the kind of party I always intend to throw but feel like I miss the mark just a bit every time. My parties are seriously lacking in the decorations department. This momma made her own tissue balls to hang from the ceiling, crafted up some gumball machines out of planters to display confections and even made the drinks fancy with festive straws and jars. Pinterest was definitely her friend - and will be mine for all future party planning for sure.


My nerdy Hello Kitty airbrushed shirt from Streaks and Blurs Etsy store
 Hello Kitty inspired cake pops
Thomas sporting his Hello Kitty bow tie

Candy coated marshmallows


Pink treats

Hello Kitty bow tie straws


Marshmallows on a stick


Sofia sporting the tea party look

We moms had fun when all the kids left


The party in full swing


Having a ton of fun!
Birthday presents to go with the party theme


Sunday, February 24, 2013

Bow ties for babies - a tutorial

I saw these adorable baby bow ties on Pinterest.... maybe you've seen them too... and I thought, I could totally do that. But contrary to popular belief, I don't have a ton of free time to just whip up bow ties for no reason in particular. Luckily the perfect opportunity came in the way of an invitation to a Hello Kitty tea party birthday shindig. We were instructed to wear our Hello Kitty best. Perfect! Hello Kitty bow ties for the babies!


Here's what you need:

    2 - 8" x 4" pieces of fabric (aprox., you don't have to be exact)
    2 - 1 1/2" x 2 1/2 " pieces of fabric
    sewing machine/needles/thread - (duh!)

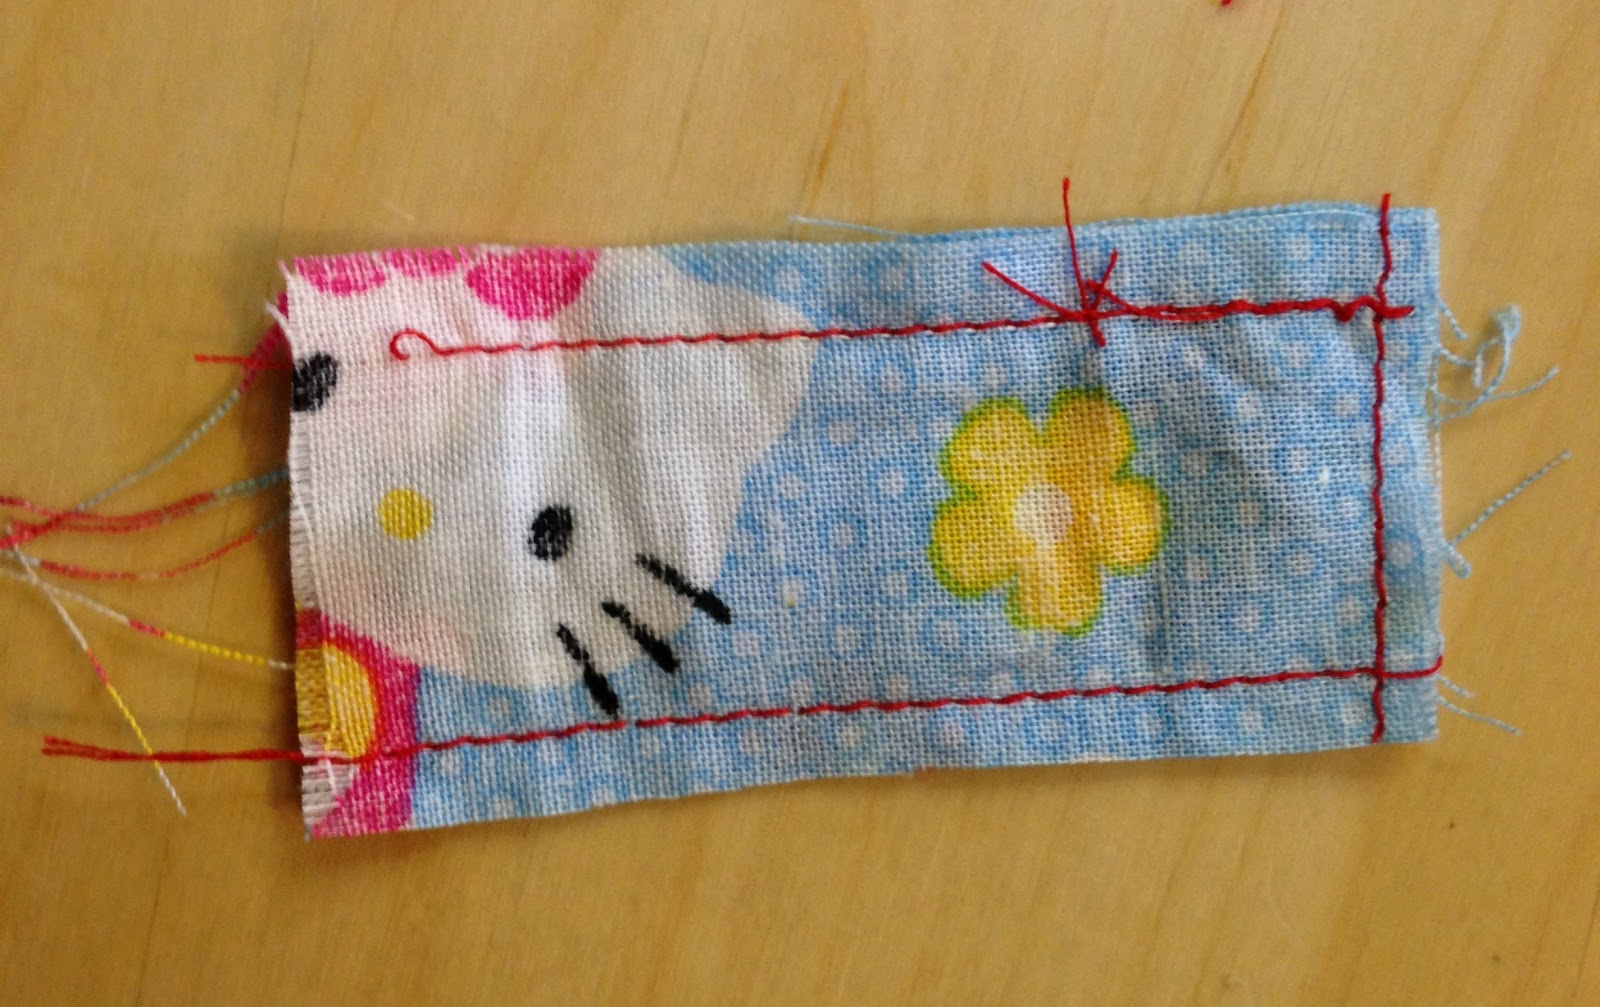
After finishing the first bow tie (that ended up being Jacob's) I realized I did not pay attention to print placement so you really couldn't see Hello Kitty in the bow tie at all. (Well that was stupid because he ended up wearing something less than his Hello Kitty BEST). So the photos in the tutorial are of Thomas' tie where I did pay attention to print placement. If your fabric requires special print placement treatment, you'll want the desired design to be just outside the middle and on the bottom half of the fabric. Looking at that top large piece of fabric in the photo, the Hello Kitty that is visible in the finished tie is the first whole cat on the bottom part of the tie. 

With your larger pieces of fabric, fold in half lengthwise, right side in, and sew long edge. 

Turn inside out. If you want to be really particular, you can iron flat. You'll see I was not that particular. 

Sew one edge closed. You won't see this seam as it will be covered by the "knot" portion of the tie. I found sewing it right side out added less bulk to the bow then trying to sew all sides and then turning right side out. Alternatively, you could sew both edges - but like I said, I wasn't that particular. The raw edge will be underneath this finished edge... 

Fold edges in to middle placing raw edge underneath sewn edge (see, what'd I tell you) and pin in place

Stitch two edges together being careful not to sew through the front piece of the bow tie. I found stitching by hand was much easier than trying to cram that itty bitty piece below my foot on my sewing machine. Do this for both pieces of fabric.

 Stack one one piece on top of the other. To fold the tie, pinch together in the middle. I pushed the middle of the tie down and pinched together with one side, then pinched the other side down.


 Stitch the bottom side together to hold in place.

 For your "knot" piece, take your two smaller pieces of fabric and sew three sides. Alternatively, you could use one 3"x 2 1/2" piece of fabric and fold together and sew just the two sides, but I didn't do that...

 Turn inside out and sew open edge closed.

 Wrap fabric around center of bow tie and stitch together on back side of bow.

TA-DA!

Sew bow tie onto onesie (or bib or shirt or whatever). I stitched the middle of the bow straight on to the onesie and then tacked the top of the tie to the onesie with a few stitches to keep it from flopping around. Alternatively, you could attach snaps to the tie and the shirt to make it removable/exchangeable. 


Tuesday, February 19, 2013

What's on the Menu for Thomas and Jacob

I totally love making baby food. I loved the idea of making baby food with Sofia and probably made 75% of all the baby food she ate. Those food pouches were just getting popular and were so gosh darn convenient so I can't claim she ate all homemade. So I was determined with the boys to go 100% home made baby food. Almost three months in and we are doing great!

Not only was I determined to go all home made for the boys, but I wanted to get a bit more adventurous with my creations. Baby food is so simple to make. Crush up a banana, or blend up some peas and voila! So although I did make a lot of food for Sofia, it was the typical stuff. Plus I stood by that introduce one food a week rule religiously which took some time building up to a place where I could offer some variety. So I changed things up a bit this time around. Yes I still introduce one food a week to watch for any allergies, but I quickly moved from single ingredient foods to food blends. I feed one new food blend a week.

Very first solid (after rice cereal)? Mashed up avocado. Then we did smashed banana (what kid doesn't love bananas?!?), pureed mango, carrot and lentils. At that point I started mixing things together. Here's what the boys have tried so far.


Carrot and Lentil
Kiwi Mango (Thomas was not a fan of the kiwi)
Blueberry Oatmeal
Spinach Pea and Pear
Pumpkin and Spiced Apple
Beet Applesauce
Butternut Squash Banana (a huge hit with both boys)
Berry Beet Kale

Tonight's creation?  - Spinach Cranberry Kale.

Next thing I think I'll try? - Apricot Oatmeal  - and maybe I'll throw in some berries.

I'm sure most babies love to start solids, but I really feel like mixing things up has been more fun for the boys and definitely more fun for me. I always love canning so anything that gives me an excuse to break out the pressure canner, I'm all for. But it's impractical and time consuming to can everything, so I save the canned food for when I'm out and about. No refrigeration or defrosting required. For everyday at home meals, I use the frozen method. I got these awesome silicone baby food freezer trays that make freezing the perfect portion of food quick and painless.

So far everything has been gobbled up with no complaints, well except for Thomas and the kiwi, which my mom just kept feeding him because she loved seeing his squishy yuck face. "But look, it's so cute, he doesn't like it." I know I'm going to miss this baby food stage when they grow out of it so I'm going keep up the creativity and enjoy it while I can.


Thursday, February 14, 2013

I have no idea what I'm doing


Welcome to my blog. Let's just make sure everyone is on the same page here and realize I have no idea what I'm doing. But I'm sure I'll learn. I get asked a lot, "how do you do it?" so I figured this might be a good way to chronicle just that. I hope to have this blog be a little bit of everything - part photo album, part tutorial on crafty things, part product review, etc. 

It took me a while to come up with a good name - and then I was listening to the radio and it came to me. Even though there are never enough hours in the day, and my house is usually in varied states of disarray, and I can never seem to find the time to tackle Mt. Laundry, I have an amazingly bright daughter, two adorable baby boys and a husband that puts up with me. And I couldn't ask for anything better. 

It's a great day to be alive
I know the sun's still shining when I close my eyes
There's some hard times in the neighborhood
But why can't every day be
Just This Good...